Some homeowners treat the 3D visualisation stage as a formality — a pretty picture to approve before the "real" work starts. That's a costly misunderstanding. The 3D review is the only moment in an interior project where every design decision is visible and every change is free. Miss it, rush through it, or approve it without real scrutiny, and problems that could have been caught in 30 minutes become expensive corrections during execution or permanent regrets after handover.
What 3D Visualisation Actually Shows
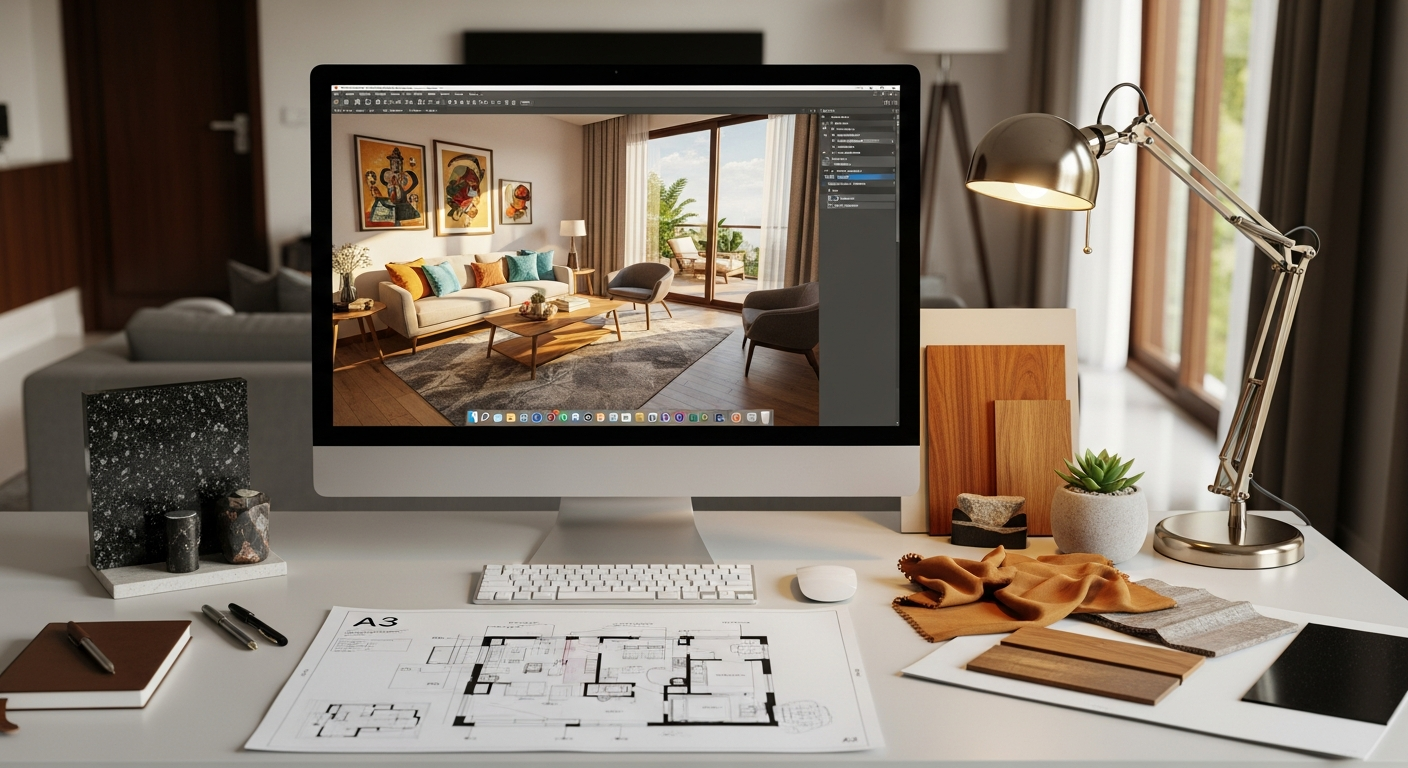
A professionally produced interior 3D render models your actual room dimensions, your specified materials at accurate scale, your chosen colour palette under realistic lighting conditions, and the spatial relationships between every element — furniture, cabinetry, ceiling treatment, and flooring. It is not a mood board or a loose impression; it is a digital prototype of the space you're about to build.
Floor plans are useful for planning, but they're read from above at a bird's-eye view — a perspective humans never actually experience a room from. A 3D render shows you the room from eye level, the way you'll actually stand in it. A wardrobe that looks correctly proportioned on a floor plan can reveal in 3D that it overwhelms one end of the bedroom. A kitchen island that seemed well-positioned in plan looks too close to the living room in the 3D view. A feature wall treatment that sounded compelling in a conversation feels busy or flat when rendered in full.
The Economics of the 3D Stage
Interior design has a simple cost structure when it comes to changes: the later a change is made, the more expensive it is.
A change made during briefing costs nothing. A change made during 3D review costs designer time — typically one or two revision cycles included in every project. A change made after production has started (cabinetry cut and machined, materials ordered and delivered) costs the materials wasted plus the cost of the revised version plus the delay to the schedule. A change made after installation is largely irreversible at any reasonable cost — hacking out installed cabinetry is a last resort, not a reasonable option.
The 3D review is the last free stage. It is also the first point where you have enough information to make fully informed decisions. The gap between these two facts — last-free and first-informed — makes the 3D stage uniquely important. Every minute of attention you give it during review repays itself many times during execution.
Change cost rises exponentially after the design freeze — the 3D review is your last free checkpoint.
What to Look for During Your 3D Review
Proportions and scale: Does each piece of furniture feel correctly sized for the room? A sofa that seats three people comfortably in a showroom can feel oversized or undersized in your specific room dimensions. The render shows you this at realistic scale.
Spatial flow and clearances: Can you walk through the spaces naturally? Are there circulation paths blocked? Is there enough clearance between the dining table and the wall to pull chairs out comfortably? Is the kitchen working triangle functional — fridge to sink to cooktop without crossed paths?
Ceiling treatment: False ceiling designs often look very different at room scale than they sound in a brief. Cove lighting on the perimeter of a room creates an effect; a coffered centre section creates a different one. The 3D is where you see which you actually want.
Material interactions: How does the kitchen laminate look against the flooring tile? How does the wardrobe shutter finish relate to the bedroom wall colour? Materials that look good individually can clash or compete at room scale. The render resolves this before any material is ordered.
Lighting positions: Are the recessed lights positioned to illuminate the work surfaces and seating areas, not just the floor in between? Is the cove lighting height correct? Are there shadows on important areas?
How to Review 3D Renders Productively
Don't approve a 3D in five minutes after a brief glance. Set aside 20–30 minutes to study the renders room by room. Walk through each space mentally — enter through the door, move to the seating, walk to the kitchen, open imaginary wardrobe doors. Notice what catches your attention first (both positively and negatively). Note specific things to change, not just general feelings.
If you have family members who will share the home, review the 3D together. Different people notice different things, and conflicting preferences surface much more productively at the render stage than mid-execution.
For the broader sequence this stage fits into, see our week-by-week project timeline. For the briefing that makes 3D renders accurate from the first version, read our designer briefing guide. And if you're deciding between providers, ask each one to show you a sample 3D render from a past project — the quality of their renders directly indicates the quality of their design process. Our designer evaluation guide covers this and other selection criteria.
See Your Home Before It's Built
Every Nexus Living Hub project includes photorealistic 3D visualisation as a standard part of the design process — at no additional cost.
Frequently Asked Questions
When materials are accurately specified and lighting conditions are modelled correctly, a 3D render from a professional interior design software is extremely close to the finished result — typically 85–95% accurate on layout and proportions. The main sources of divergence are: actual natural light varies by time of day and season (the render shows one point in time), material textures photographed for the render may render slightly differently at different scales, and the lived experience of a room has qualities — sound, smell, the feel of surfaces — that no visual render captures.
Yes — that's exactly what the 3D review stage is for. Changes at this point cost only designer time and are incorporated in the revision cycle, which typically runs 1–2 rounds. The key is to bring all major feedback in the first or second review, rather than discovering changes progressively. Once the design is approved and BOQ is signed, changes become production variations with real costs and schedule impacts.
Significant divergence between approved 3D and finished execution is a workmanship and project management issue, not a visualisation issue. At Nexus Living Hub, we manage site execution directly against the approved 3D and BOQ documents — the project manager's role includes ensuring what was designed is what's built. Material substitutions (using a different grade of material than specified) and dimensional deviations are both tracked and addressed during execution, not discovered at handover.