Congratulations — you've bought your first home in Bangalore. The excitement is real. So is the overwhelm. Suddenly there are a hundred decisions to make, a hundred contractors calling you, a hundred opinions coming from family. This checklist turns the chaos into a clear, phase-by-phase sequence. Follow it and you'll move into a completed home without regrets.
Phase 1 — Before Possession (2–3 Months Before Keys)
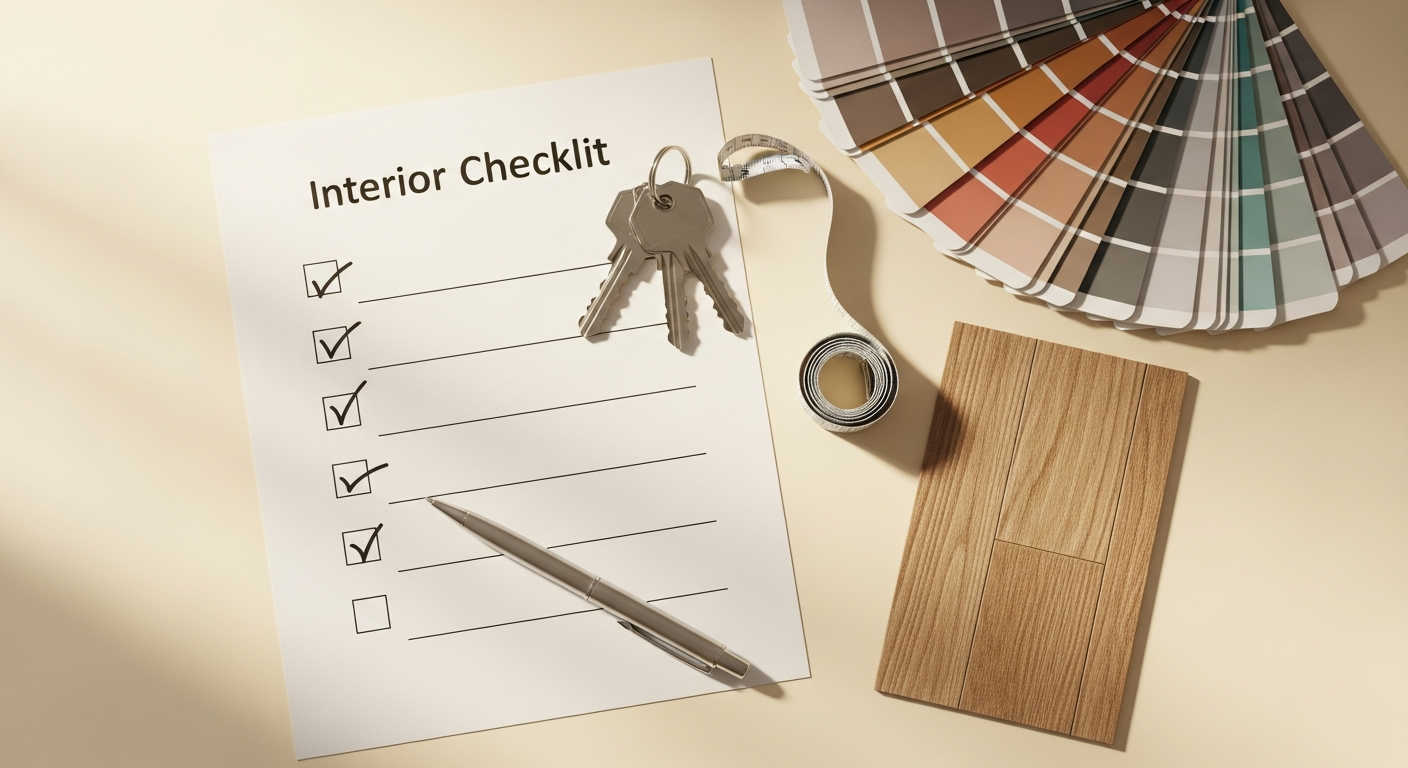
The most common first-home mistake is waiting until possession to start planning interiors. By that point, you're already weeks behind. Use the months before possession to get organised.
Start shortlisting interior designers. Visit 2–3 experience centres, look at portfolios, request estimates. You're not committing yet — you're gathering information and calibrating your expectations. Read our designer evaluation guide for a structured framework.
Save reference images. Create a folder (Google Photos, Pinterest, or WhatsApp album) of spaces that appeal to you — kitchens, living rooms, bedroom treatments. Style vocabulary comes later; right now you're just collecting things that resonate.
Discuss budget range with your partner. Align on what you're both comfortable investing before you receive any proposals. Budget conversations are easier before you've fallen in love with a design concept. Use our interior budget guide to calibrate realistic expectations.
Identify must-haves vs nice-to-haves. Write down 3–5 non-negotiables (e.g., "walk-in wardrobe in master bedroom," "island counter in kitchen") and 3–5 aspirational items that can be dropped if budget requires. This list will become the core of your brief.
Book your designer before possession. The best firms fill their project schedule 4–6 weeks out. Booking 1 month before possession ensures design begins immediately after you have the keys.
Phase 2 — At Possession (The Day You Get Keys)
Conduct a thorough builder inspection. Walk every room with a critical eye: check all walls for cracks, damp patches, and plastering quality; test all electrical points; run every tap and check drainage; examine flooring (tiles, granite) for chips and level consistency; verify door and window operations. Document every deficiency with photos and report it to the builder immediately.
Do not start any interior work until builder defects are rectified. If your designer installs false ceiling over a wall crack the builder hasn't fixed, the crack will eventually propagate through the ceiling. Builder warranty work must be completed first.
Hand over the keys to your designer for a site visit. Your interior designer should visit immediately after possession to take measurements, document existing conditions, and begin the detailed brief collection.
Possession day site visit — measurements and condition documentation that form the foundation of the design.
Phase 3 — Design Phase (Weeks 1–3)
This is the most creative and most decision-intensive phase. Your active involvement here prevents costly corrections later.
3D visualisation review: Treat this seriously. See every room at realistic scale before anything is built. All changes at this stage are free. Changes after production begins are not.
Lock the kitchen layout first. The kitchen is the most complex room — it affects electrical layout, plumbing connections, ventilation, and workflow. Settling it early prevents cascading changes in other rooms.
Finalise wardrobe internals for each bedroom. Generic layouts waste space. Tell the designer specifically what goes in each wardrobe — daily shirts, sarees, suits, children's clothes, bed linen — and get internal layouts designed for your actual wardrobe contents.
Approve the electrical layout carefully. Switch positions, socket heights, and USB points in each room cannot be changed after false ceiling is installed. Review the electrical plan as carefully as the aesthetics.
Sign off the BOQ only when fully satisfied. This document locks materials, dimensions, and scope. See our project timeline guide for what happens next.
Phase 4 — Production and Installation (Weeks 4–9)
This phase requires less active decision-making but steady availability for check-ins.
Factory production runs during site preparation. While your modular work is being fabricated, the site is being prepared — electricals roughed in, painting applied, flooring laid. Your project manager coordinates this sequence.
Be available for mid-installation check-ins. A 30-minute video call or brief site visit at the halfway mark lets you confirm alignment with the approved design before the project proceeds to completion.
Avoid changes after BOQ sign-off. Mid-project additions delay the schedule and increase cost. Hold any additional ideas for Phase 2 of your home (done while you're living in it, in future years).
Phase 5 — Pre-Move-In (Week 10)
The final stretch. Don't rush through it — this is where you protect the investment made in the previous nine weeks.
Final walkthrough with punch list: Test every drawer, hinge, light, and switch. Inspect every painted surface and every tiled junction. Any deficiency gets documented and resolved before handover.
Collect your warranty document. An up-to-15-year warranty on modular work is only as good as the paperwork that backs it. Ensure you receive a physical warranty document specifying coverage and the claim process.
Plan move-in logistics: Schedule movers, appliance delivery, internet setup, and deep cleaning coordination before you arrive with boxes. A finished home deserves an organised move-in.
Things First-Time Homeowners Often Forget
Curtain rods and curtains are typically outside interior design scope. Plan for window treatment separately — measure window dimensions and order rods during Phase 3 so they arrive around handover.
Appliance dimensions must be shared with your designer before the kitchen layout is finalised. A refrigerator that doesn't fit its alcove, or a washing machine that has no planned space, creates real problems at move-in.
Internet router position affects the entire home. Plan the router location during the electrical layout discussion — running cables inside the wall during construction costs nothing; doing it later requires drilling.
Balcony utility setup — drying area, storage hooks, WPC decking, and any garden or sitting arrangement — should be considered during design even if it's done in a second phase.
First home in Bangalore? Let our team guide you from possession to move-in.
Frequently Asked Questions
Before. Start shortlisting designers 2–3 months before your expected possession date. Book your designer one month before keys so the design process begins the moment you take possession. Waiting until after possession to start looking typically adds 4–6 weeks to your project end date — and delays your move-in accordingly.
Not recommended for full turnkey projects. Site execution generates heavy construction dust, volatile chemical fumes from adhesives and paints, and constant noise. For partial or phased work — if, for example, one room is being done while others are finished — careful scheduling can make temporary occupation workable. For full-scope projects, plan for accommodation during the 5–8 week installation period.
The kitchen. It has the longest production lead time (design decisions are most complex, cabinet fabrication takes the most time), and it determines the material palette that cascades to the rest of the home. Get the kitchen layout locked first — everything else follows from there.